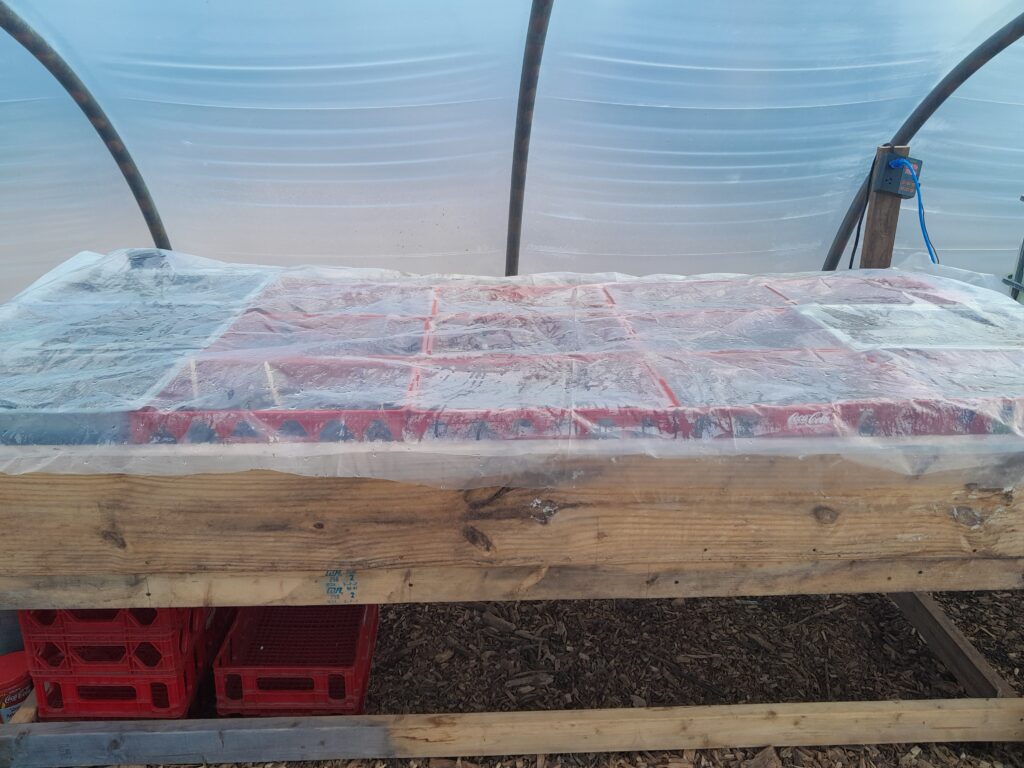
We found ourselves with the greenhouse up in January, but with no heat. I will say that we did purchase two layers of plastic and installed a fan to continuously blow between the layers. This has helped to insulate tremendously. Mostly during the day. The temperatures within the greenhouse would still get down into the thirties or forties at night. The heat would not hold throughout the night as much as we would have liked. To remedy this, we would simply cover the plants at night. We rarely lost anything. There was enough warmth trapped inside the greenhouse. Not a huge amount, but enough to keep the plants alive.
To help with germination, my husband built a heat table. Using coils that can be used for roofing to melt ice on your roof and sand, he constructed a table that would fit a decent amount of plants. He added a temperature regulator and kept the temperature continually at 74 degrees F.
SOIL BLOCKS
The way that we decided to start our seeds this year was with soil blockers. These are a quick and efficient way to monitor the germination rate of your seeds. It is also a great way to get the kids involved. When you are working on planting hundreds, or even thousands of seeds at a time, this makes the process less daunting. Our soil mix that we use is a mixture of sand, peat moss, and dirt from our farm. We live in Southwestern Virginia which is notorious for red clay. Using this mixture is much easier than trying to sow directly in the red clay. The red clay seems fine for some crops such as radishes. But it seems like everything else we grow prefers to be coddled.
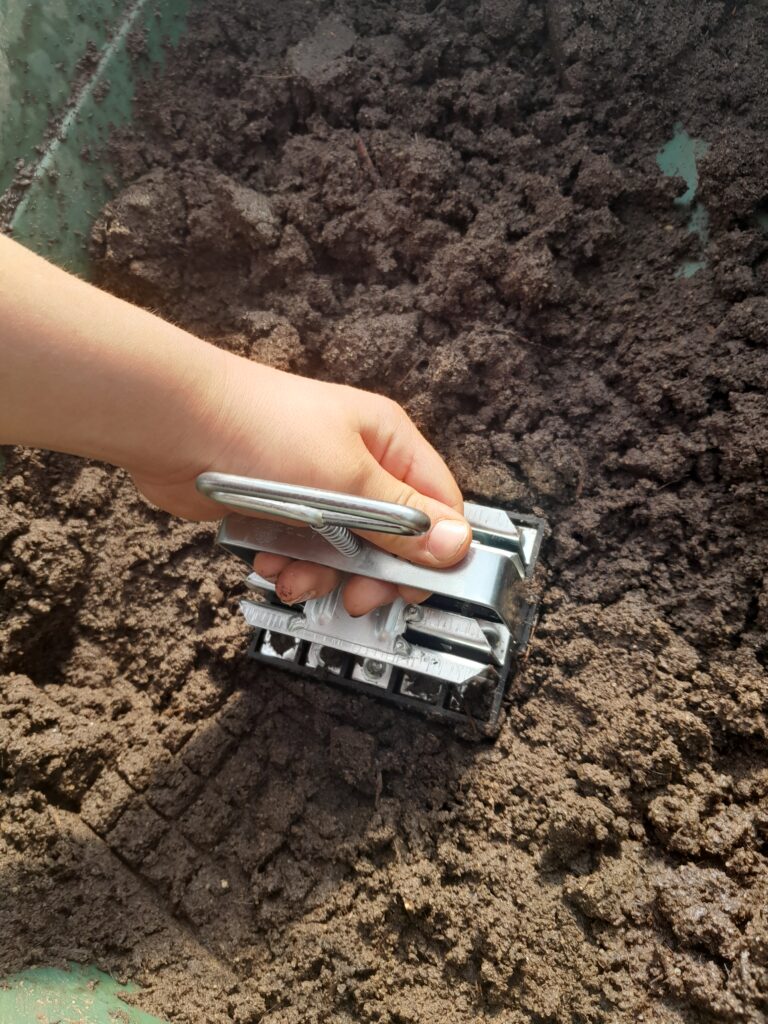
We were sure to have a hose nearby when creating the soil blocks. The soil mix is important but the consistency of the soil as you press the blocker into it is just as important. It needs to be wet, moist, and almost runny, otherwise it simply won’t work. Once you do it a few times, it becomes second nature and it becomes easy to pump out block after block. We purchased two sizes of blocks. The smaller size we are using for germination. We place these trays on the heat table until we see a significant amount of growth. Once we see the roots creeping out of the bottom, we simply place in a slightly larger size block. This is simple, easy, and does not disturb the roots so it is perfect for plants that do not transplant well traditionally.
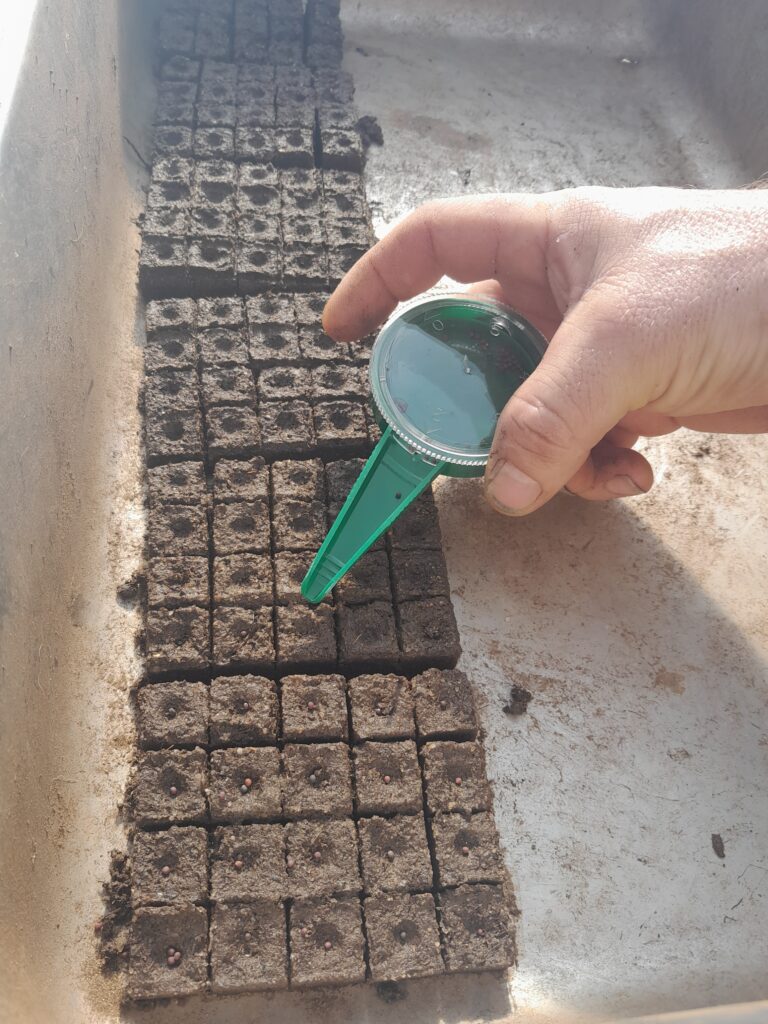
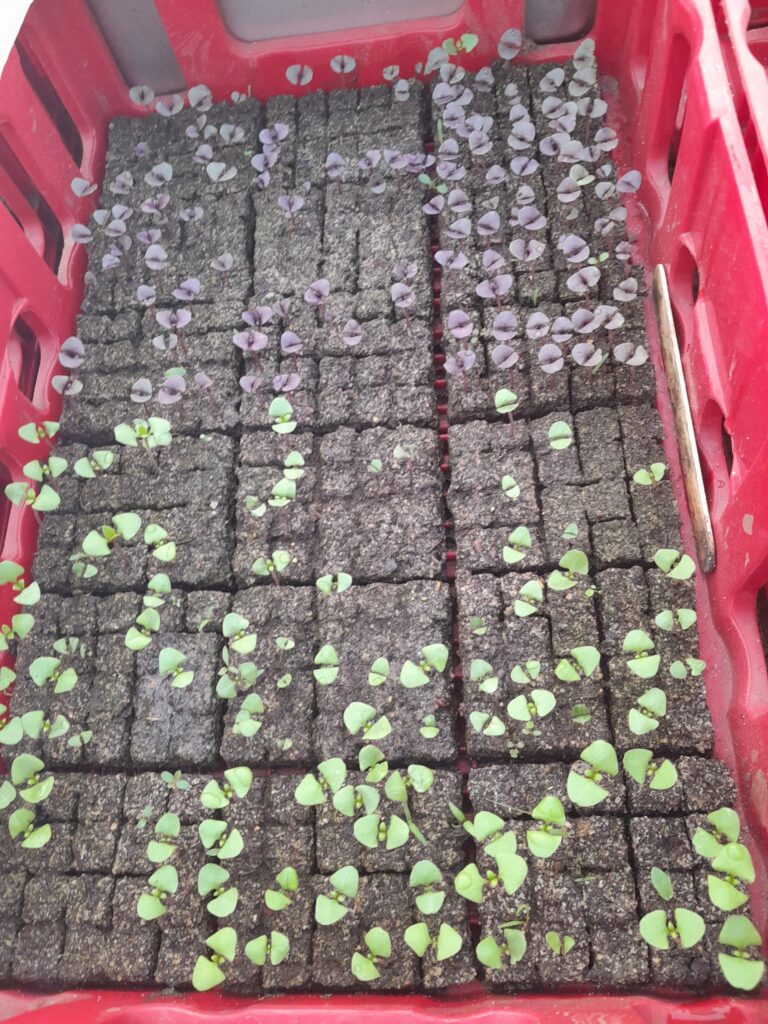
Once the smaller blocks have germinated, we created larger soil blocks that allow you to perfectly place the smaller soil block into them. Once they grow and have a significant amount of roots, you can plant them into your desired pot or directly in the ground. Our first batch we are placing in pots to bring to the market or plant in our own garden. Eventually, we will bring the larger blocks to the market and our customers can pick and choose which plants they want and purchase them by the tray. This will help save costs on pots. Some seeds, such as sunflower seeds will go directly into the larger soil blocks but most everything else that we have planted went through this process. Once they make it to the second soil block stage, we remove them from the heat table and start the process all over again with a new batch of seeds!
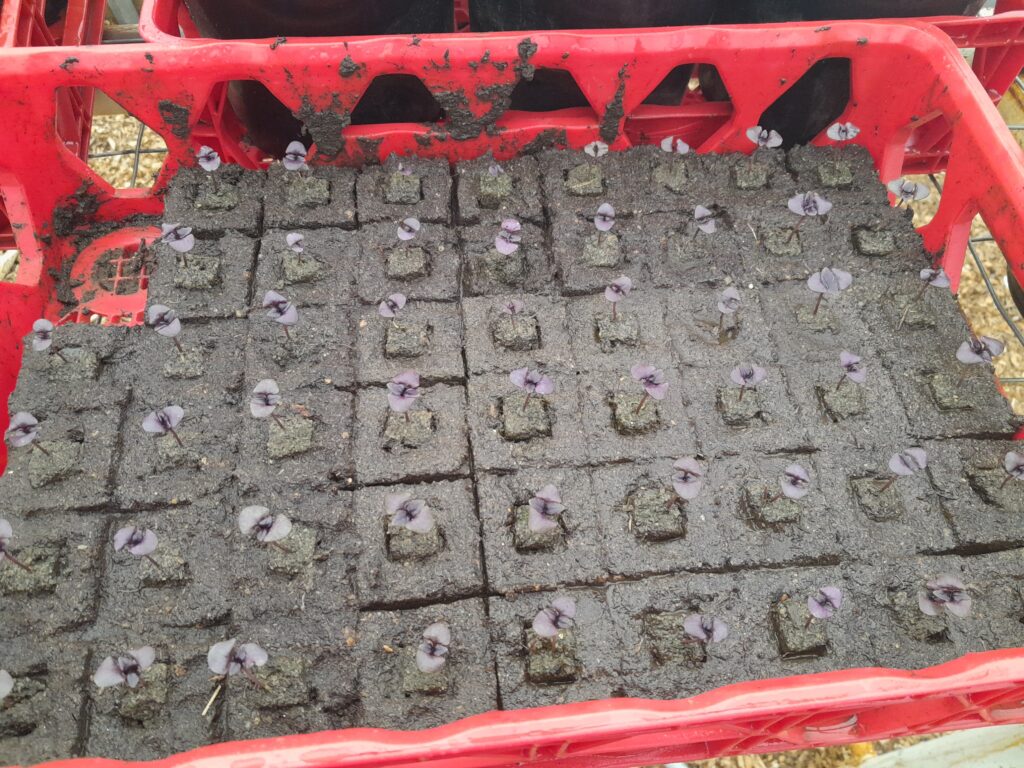
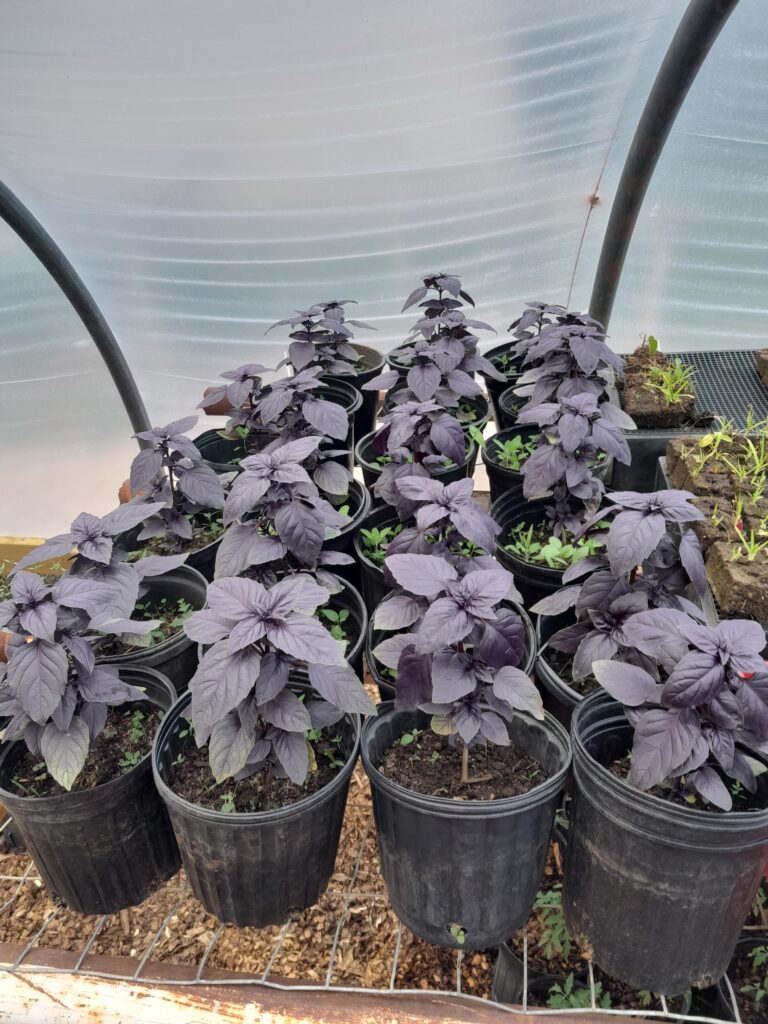
Once weeded, these pots will go to market. Others that are still in the blocks will go in my garden in a week or so to be used for filler in my summer bouquets.

Interesting!
What a great technique!! We have a heavy clay soil as well so my husband spent years systematically digging up one area after another and filling the pits with sticks and vegetation to let time and composting loosen the soil. In theory that helped but years of chickens running free through the area helped more. Still we battle the clay every year when it is garden planting time. I think that is why so many old buildings in our area were made of adobe. We will try the soil blocks technique out! Thank you!!